Capturing the Cosmos
An Introduction to Astrophotography
The night sky, with its celestial tapestry of stars, nebulae, and galaxies, has captivated humanity for millennia. While simply gazing upwards can be a profound experience, astrophotography allows us to capture the faint light of these distant objects, revealing breathtaking details and colors invisible to the naked eye. It’s a rewarding blend of art and science, offering a unique perspective on the universe we inhabit.
A Journey Through Time
The desire to document the heavens isn’t new. Early astronomers meticulously sketched their observations through telescopes, a rudimentary form of astrophotography. However, the invention of photography in the 19th century revolutionized our ability to record celestial wonders. Early photographic plates, though cumbersome and requiring long exposures, provided a more accurate and detailed representation of the night sky than ever before.
Over time, advancements in photographic technology, from film to digital sensors, have dramatically improved the accessibility and quality of astrophotography. Today, with relatively affordable equipment and readily available software, amateur astronomers can capture stunning images of deep-sky objects, planets, and even fleeting events like meteor showers.
Getting Started: Essential Equipment
Starting your astrophotography journey doesn’t have to be expensive at first. Here’s a look at some essential equipment:
- Camera: While specialized astronomy cameras exist, a DSLR or mirrorless camera with outstanding low-light performance and manual controls is an excellent starting point.
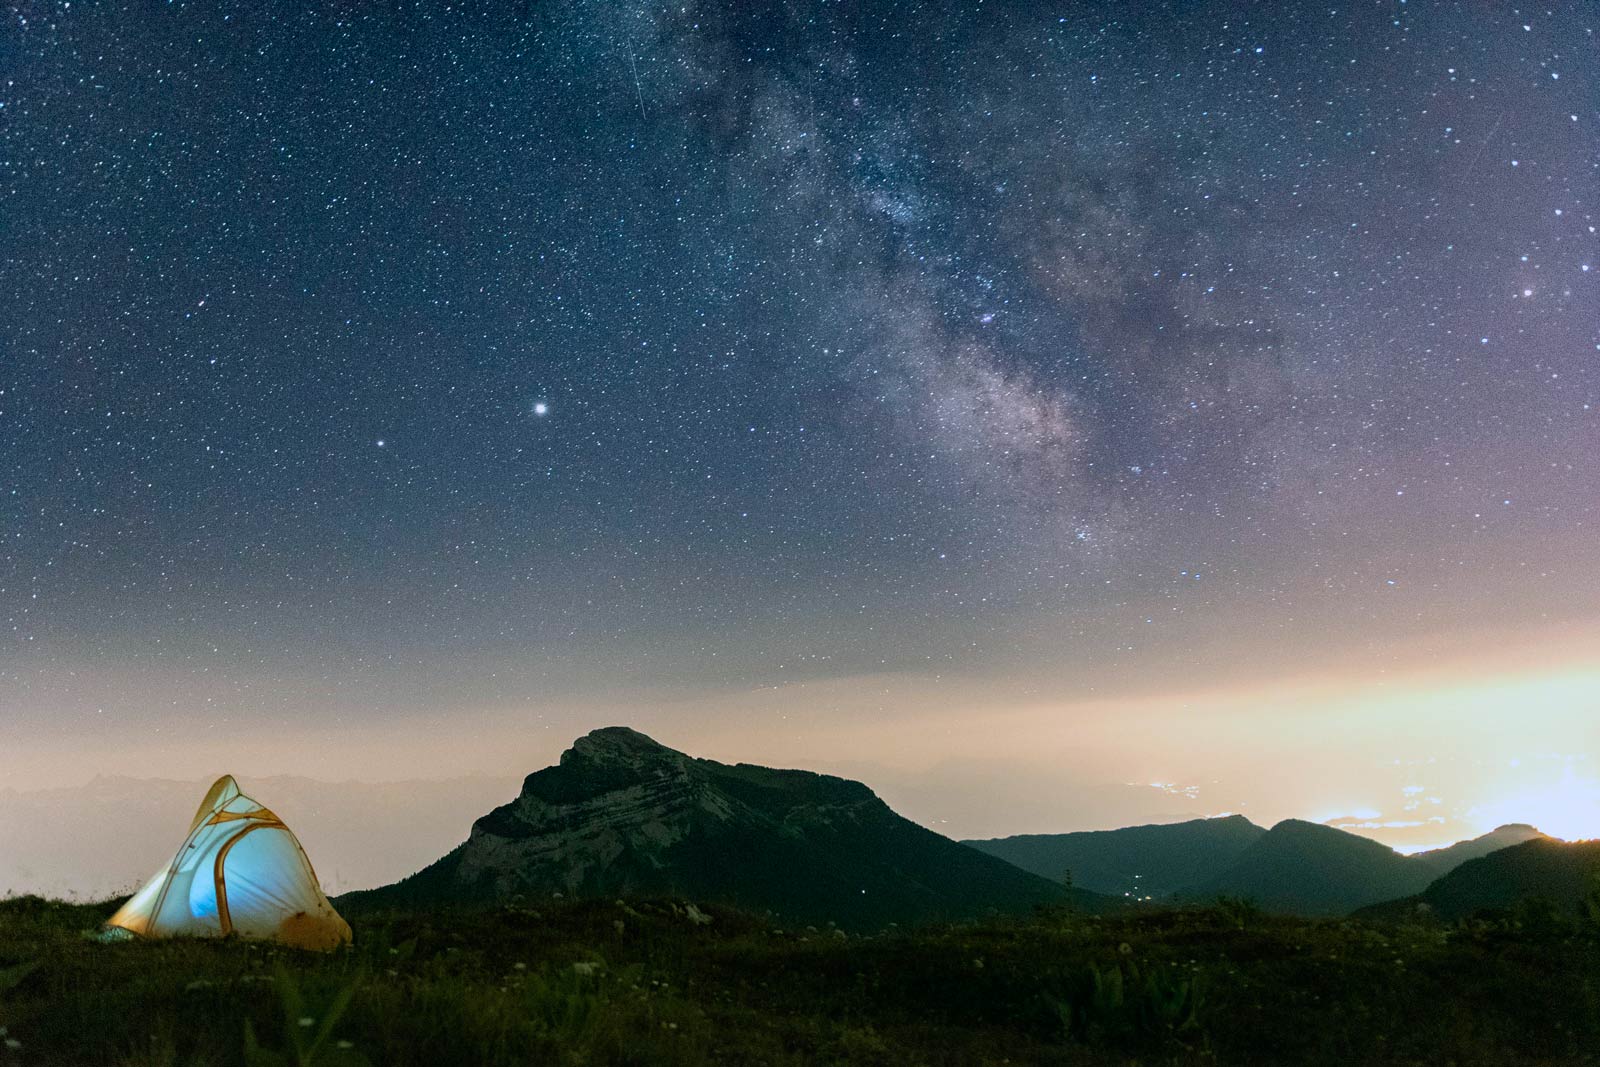
- Lens: A wide-angle lens with a fast aperture (low f-number, e.g., f/2.8 or wider) is ideal for capturing large swathes of the Milky Way or constellations. For photographing planets or distant galaxies, a telescope with sufficient magnification is necessary.
- Tripod: A sturdy tripod is crucial for long exposures, preventing unwanted camera shake that would result in blurry images.
- Remote Shutter Release (Optional but Recommended): Minimizes vibrations caused by physically pressing the shutter button.
As you progress, you might consider investing in more specialized equipment like a star tracker or equatorial mount. These devices compensate for Earth’s rotation, allowing for much longer exposures without star trails, which is essential for capturing faint deep-sky objects. Filters designed to block out light pollution can also significantly improve image quality, especially when shooting from urban or suburban areas.
The Art of the Exposure
Capturing the faint light of celestial objects requires understanding the interplay of the exposure triangle:
- Aperture: Controls the amount of light entering the lens. A wider aperture (lower f-number) is generally preferred in astrophotography to gather as much light as possible in a shorter time.
- Shutter Speed: Determines how long the camera’s sensor is exposed to light. Depending on the target and the use of a tracking mount, astrophotography shutter speeds can vary from seconds to several minutes. Longer exposures allow capturing fainter details but can lead to star trails if not using a tracker. A common rule of thumb for untracked wide-field shots is the “500 rule” (500 divided by the focal length of your lens gives the maximum exposure time in seconds before stars start to trail).
- ISO: Controls the camera sensor’s sensitivity to light. Higher ISO settings amplify the signal but can also introduce more noise (grain) into the image. Finding a balance between capturing enough light and minimizing noise is key.
- Manual focus is also critical in astrophotography. Autofocus systems often struggle in the darkness. Using live view and zooming in on a bright star to achieve pinpoint focus is a common technique.
Unveiling Hidden Details: Image Processing
Image processing is an integral part of astrophotography. Raw images straight out of the camera often appear dim and lack the vibrant colors we see in published astrophotos. Software like Adobe Photoshop, PixInsight, or free alternatives like GIMP allow astrophotographers to:
- Stack Images: Combining multiple exposures of the same object to reduce noise and increase detail.
- Adjust Levels and Curves: Enhancing contrast and bringing out faint details.
- Color Calibration: Revealing the true colors of nebulae and stars.
- Noise Reduction: Minimizing unwanted grain in the image.
- Sharpening: Enhancing fine details.
Processing can be a steep learning curve, but it’s where the magic truly happens, transforming raw data into stunning visual representations of the cosmos.
The Thrill of Discovery
Astrophotography is more than just taking pretty pictures. It’s a journey of learning about the night sky, understanding your equipment, and developing technical and artistic skills. The thrill of capturing your first image of the Orion Nebula, the Andromeda Galaxy, or the delicate wisps of a distant supernova remnant is an incredibly rewarding experience. It connects you to the vastness of the universe in a tangible and personal way.
Whether you’re drawn to the wide-field landscapes of the Milky Way, the intricate details of lunar craters, or the faint glow of distant galaxies, astrophotography offers a unique window into the wonders of the cosmos. So, step outside, let your eyes adjust to the darkness, and consider embarking on this captivating adventure. The universe awaits your lens.
Astrophotography