A Beginner’s Guide to Capturing Beautiful Portraits
A great portrait does more than just capture a person’s appearance; it captures their essence, personality, and mood. Whether you’re photographing family, friends, or clients, learning the fundamentals of portrait photography can transform your photos from simple snapshots into compelling works of art. This guide will walk you through the essential steps to get started.
Essential Gear for Portrait Photography
While the photographer’s skill is more important than the gear, having the right tools certainly helps.
- A Camera with Manual Controls: A DSLR or mirrorless camera is best, as it allows you to control the settings manually to achieve the look you want.
- A “Prime” Lens: While a kit lens can work, a prime lens (one with a fixed focal length) is a game-changer for portraits. A 50mm f/1.8 lens is famously known as the “nifty fifty” because it’s affordable, fantastic in low light, and creates a beautiful blurry background (known as ‘bokeh’). Other popular choices are 35mm and 85mm lenses.
- A Reflector (Optional): A simple 5-in-1 reflector is a cheap and incredibly effective tool for bouncing natural light into your subject’s face to fill in shadows.
The Most Important Setting: Aperture
If there’s one setting to master for portraits, it’s aperture. Aperture controls the ‘depth of field’—how much of your image is in focus.
- Use Aperture Priority Mode (A or Av): This mode lets you choose the aperture, while the camera automatically sets a suitable shutter speed. It’s perfect for learning.
- Choose a Wide Aperture (Low f-number): To get that classic portrait look with a sharp subject and a beautifully blurred background, use a low f-number like f/1.8, f/2.2, or f/2.8. This separates your subject from their environment and makes them the clear focus.
- Focus on the Eyes: The eyes are the window to the soul, and they should almost always be the sharpest point in a portrait. Use your camera’s single-point autofocus mode to place your focus point directly on the subject’s nearest eye.
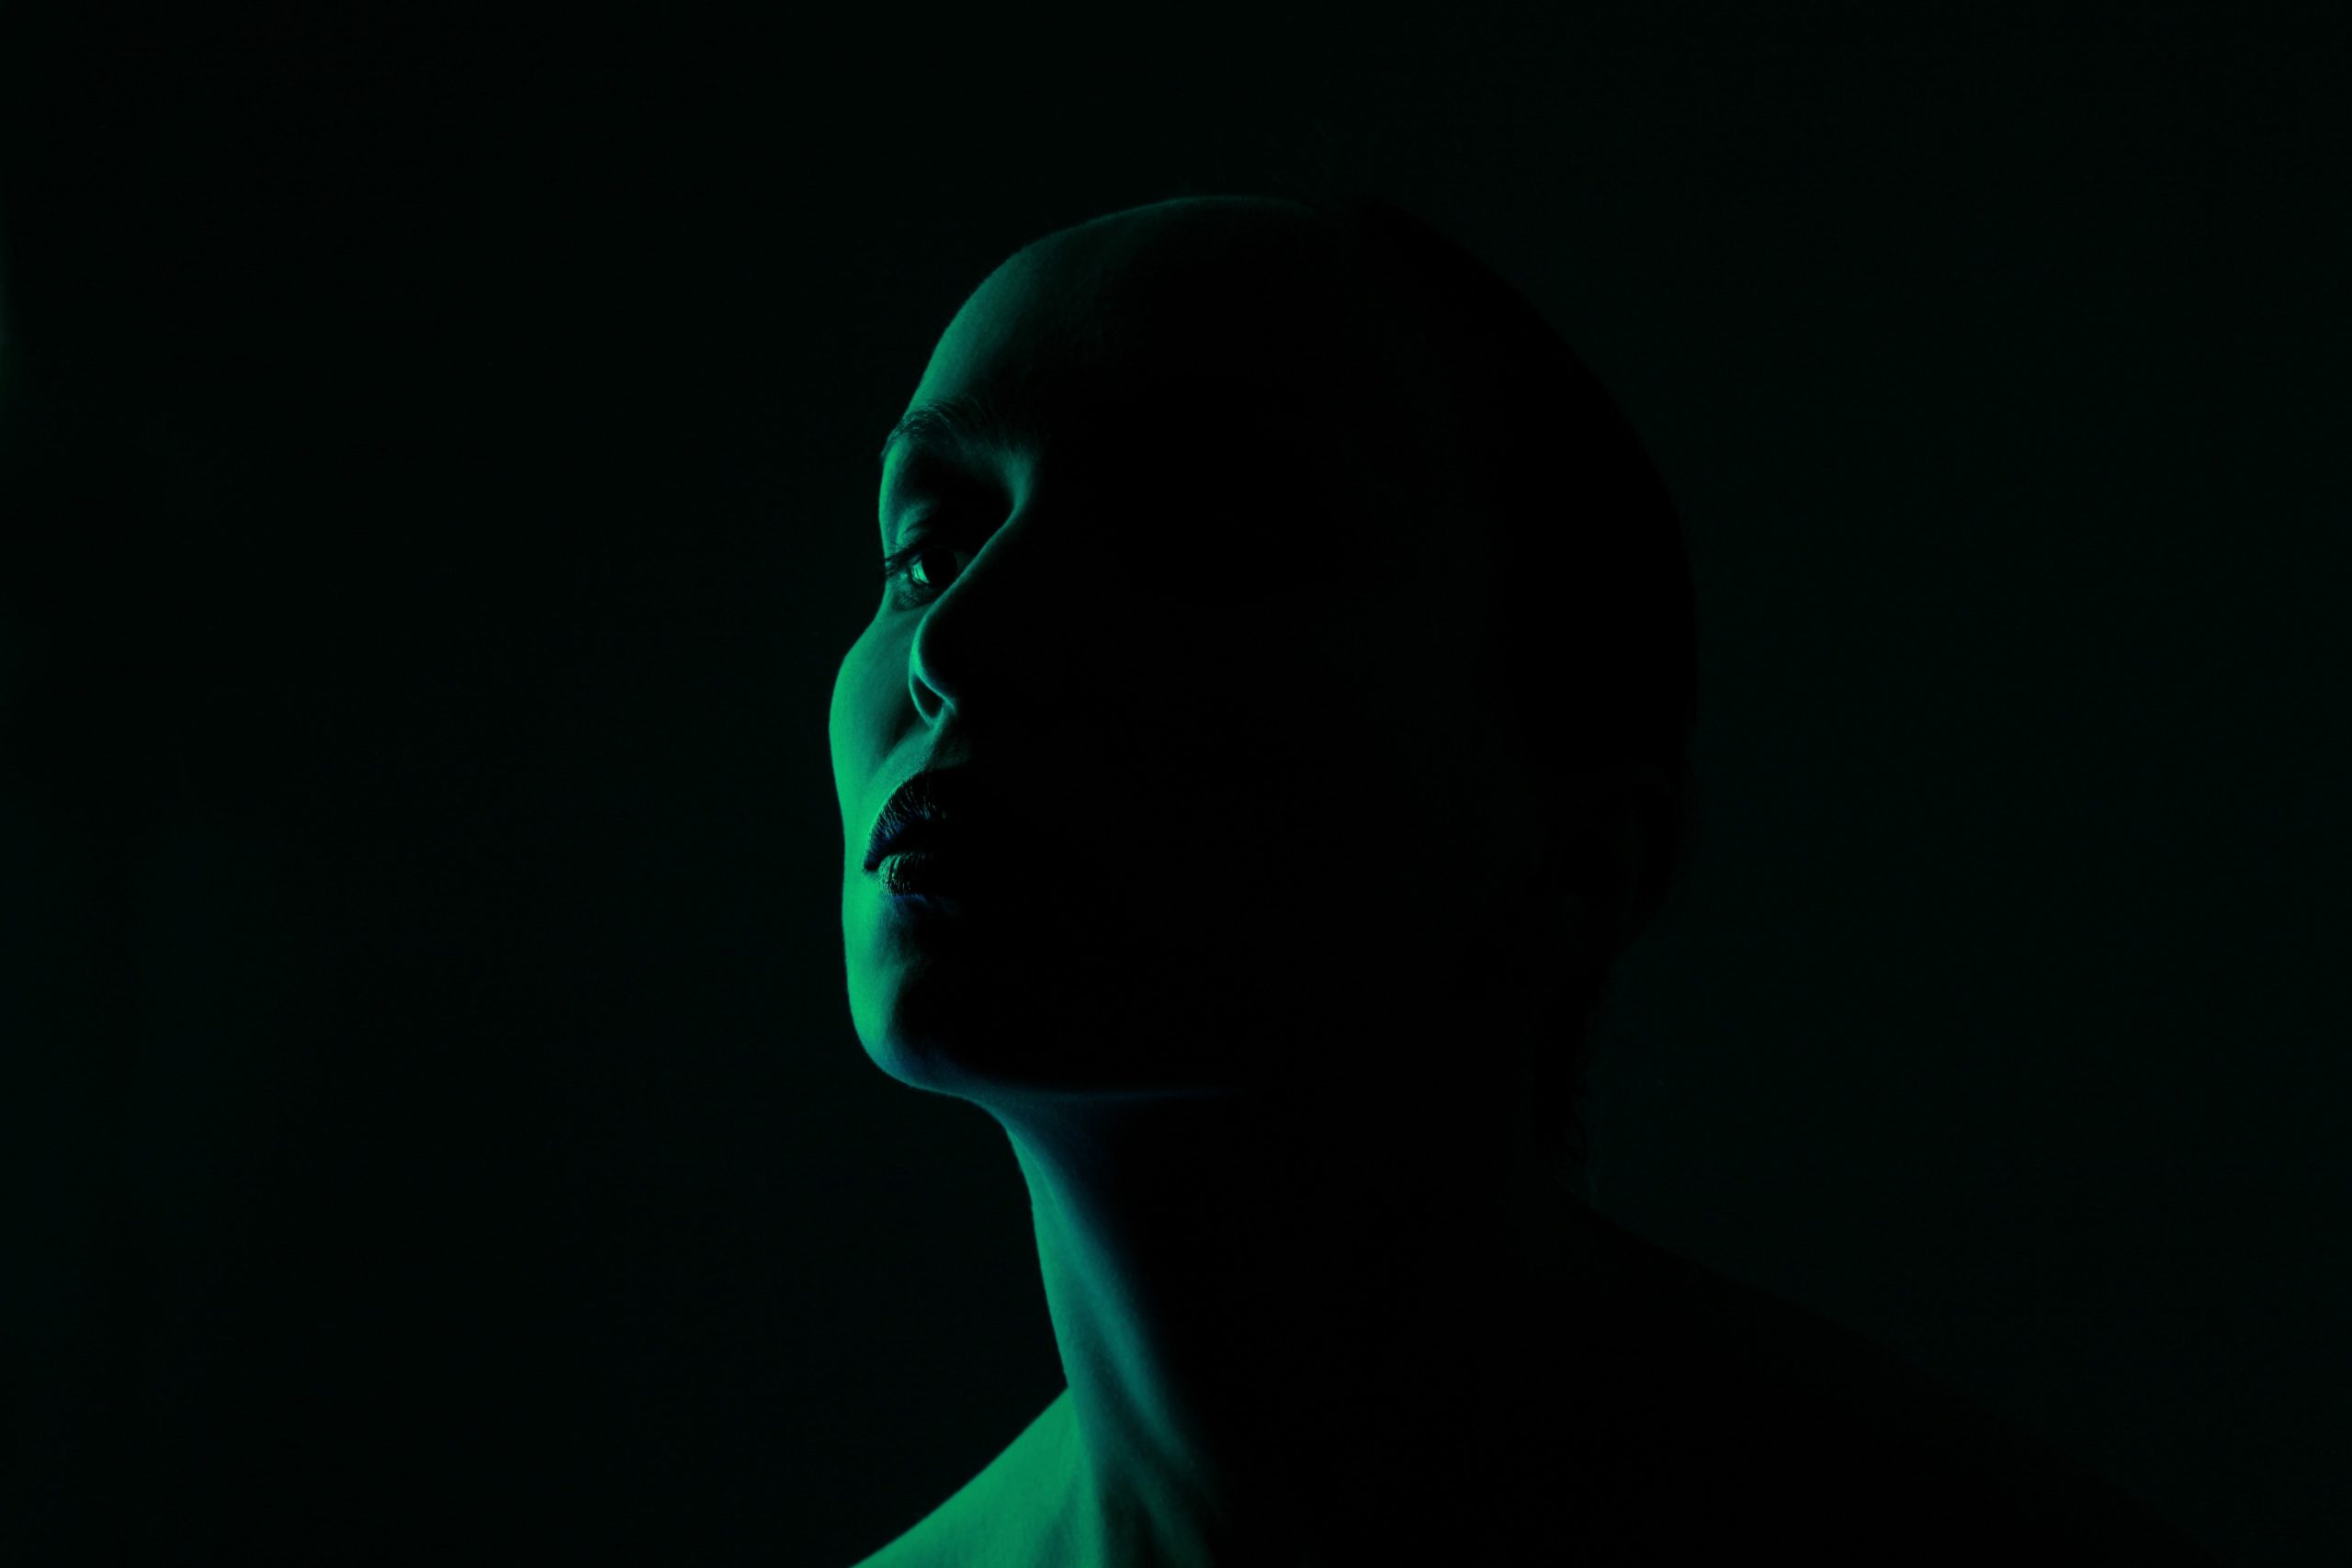
Lighting is Everything
You don’t need a fancy studio to get great lighting. Learning to see and use natural light is the most valuable skill a portrait photographer can have.
- Avoid Direct Midday Sun: Harsh overhead sunlight creates unflattering, hard shadows under the eyes and nose.
- Seek Open Shade: The best light is often found in “open shade,” like under a large tree, in the shadow of a building, or just inside a doorway. The light here is soft, even, and flattering.
- Use Window Light: A large window is the perfect indoor light source. Position your subject facing the window or at a 45-degree angle to it for beautiful, soft illumination.
- The “Golden Hour”: The hour after sunrise and the hour before sunset provide a warm, golden, and directional light that is perfect for dramatic and flattering portraits.
Connecting with Your Subject
A technically perfect photo can still feel flat if the subject looks uncomfortable. Your job as the photographer is also to be a director. Talk to your subject, make them laugh, and give them clear, simple instructions. Posing doesn’t have to be stiff; often, the best moments are the candid, in-between shots.
Now, grab your camera and a friend and start practicing. The more you shoot, the more you’ll understand how these elements work together to create a portrait you can be proud of.