Connecting Earth and Sky: The Art of Landscape Astrophotography
A photo of a starry sky can be beautiful. A photo of a powerful landscape can be moving. But when you combine them—when you anchor the infinite expanse of the cosmos with a compelling, terrestrial subject—you create something truly magical. This is the art of the nightscape, or landscape astrophotography.
This discipline is a marriage of two crafts. It requires the technical precision of astrophotography and the artistic eye of a landscape photographer. The goal isn’t just to capture the stars, but to tell a story by creating a relationship between the Earth and the sky. Here, the foreground is not an afterthought; it is half the soul of the image.
1. The Foreground is Your Hero
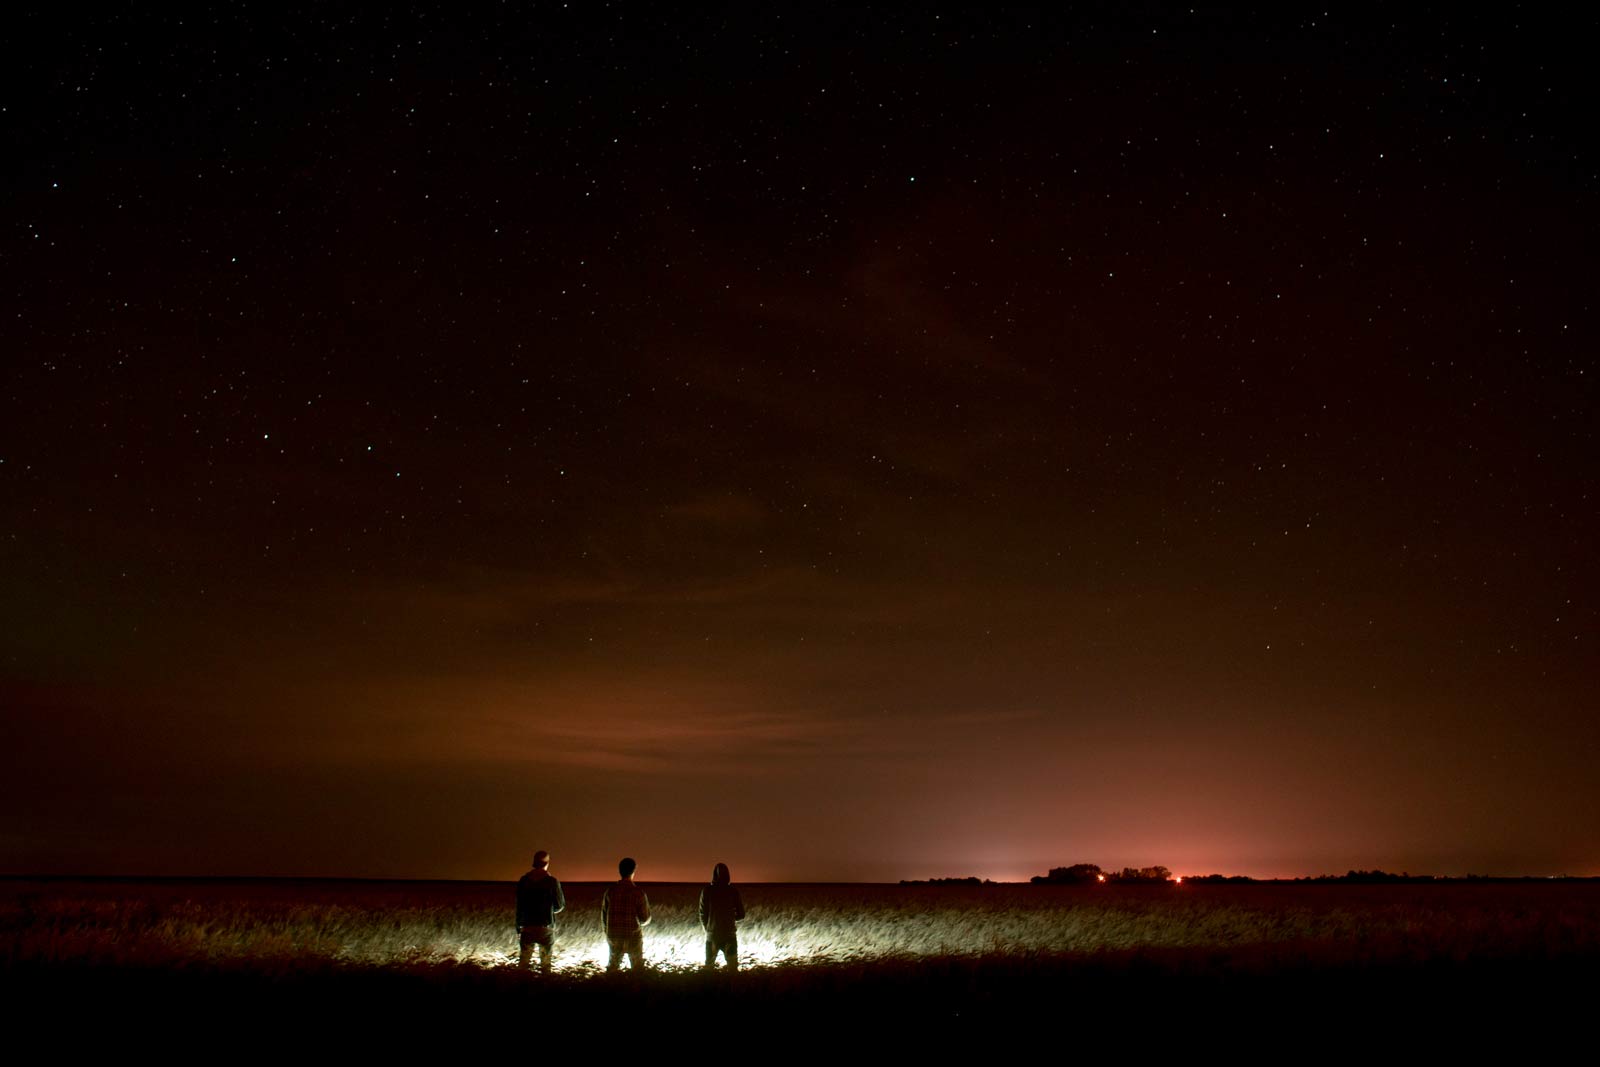
The single most important element that separates a snapshot of the stars from a compelling nightscape is the foreground. Before you even think about camera settings, you need a subject. This requires planning and scouting, often during the daytime. Look for strong, simple shapes that create a powerful silhouette or subject of interest:
- A lone, gnarled tree
- A dramatic mountain range or rock formation
- A serene lake that can provide reflections
- An old barn, abandoned church, or lighthouse
Use apps like PhotoPills or Stellarium to plan exactly where the Milky Way or other celestial objects will be in relation to your chosen foreground at a specific time.
2. The Gentle Art of Low-Level Lighting
Often, your foreground will be completely dark during a new moon. To make it a visible part of your composition, you need to introduce a little light. The key is subtlety.
- Light Painting: Use a dim flashlight or headlamp (often with a warm gel over it) and “paint” light across your foreground during your long exposure. Keep the light moving constantly to avoid creating harsh, bright spots.
- Ambient Light: Use the faint glow from a distant town, the rising or setting moon, or the deep blue of twilight to provide a soft, natural illumination across the landscape.
3. Technique 1: The Perfect Single Shot
In some conditions, you can capture a brilliant nightscape in a single frame. This works best when there’s some ambient light, such as from a crescent moon, to illuminate your foreground naturally during the 20-30 second exposure your sky requires. This is the most authentic way to capture a scene, but it demands a perfect balance of light.
4. Technique 2: Blending for Ultimate Control
For maximum quality, professionals often blend multiple exposures. This technique gives you complete control over every element in the scene.
- Expose for the Sky: First, frame your composition and get a perfect exposure for the stars. Use your widest aperture and highest clean ISO for a 15-25 second shot. A star tracker can allow you to take an even longer, cleaner exposure for the sky.
- Expose for the Foreground: Without moving your camera or tripod, change your settings to get a perfect exposure for the foreground. This often means lowering your ISO to its base value (like 100 or 200) and taking a much longer exposure, sometimes several minutes long. You can focus specifically on the foreground for this shot to ensure it is tack sharp.
- Blend in Post-Processing: In a program like Adobe Photoshop, layer these two images and use layer masks to seamlessly blend the perfectly exposed sky with the perfectly exposed foreground.
Composition is Key
Treat the Milky Way’s bright core or an interesting constellation as a key compositional element. Use it as a leading line that draws the eye towards your foreground subject. Frame it between two trees. The same rules of composition that apply in daytime landscape photography are just as important at night. It’s this thoughtful arrangement that elevates a photo from a simple documentation to a work of art.